Color Enhancement in Ruby has SGL Seeing Red
by Bear Williams, Stone Group Labs (SGL)
RUBIES are typically sent into professional gem labs for Identification (natural v. synthetic), and to determine whether or not the stone has been treated – Enhancements (treated or natural).
Heat Treatment
In the case of thermal enhancement, these lab reports may note that the gemstone has been “heat treated.” The report may state this as “thermally enhanced” or “shows evidence of heat treatment,” and may have an additional comment about “flux residues.”
Flux Residues
What exactly are “flux residues?”
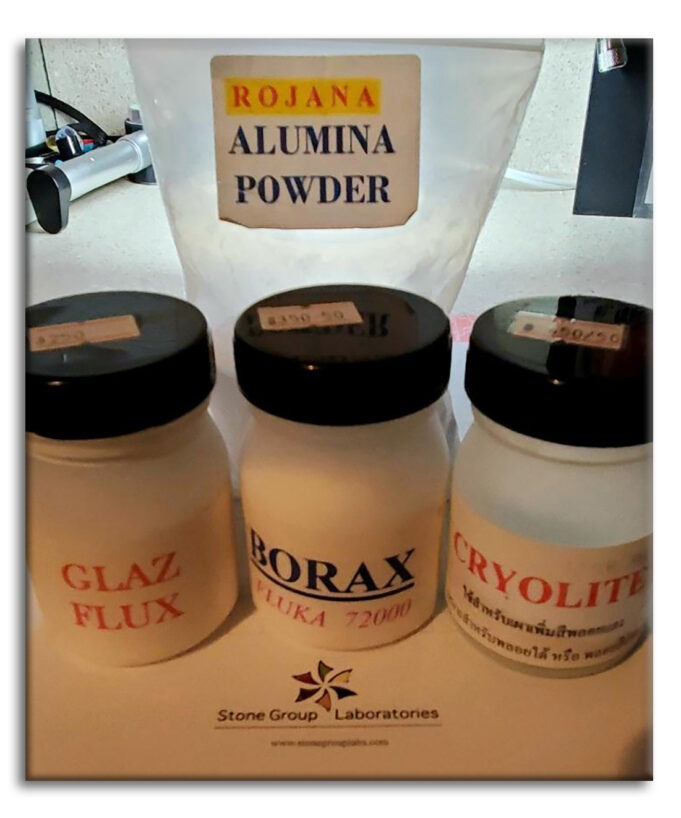
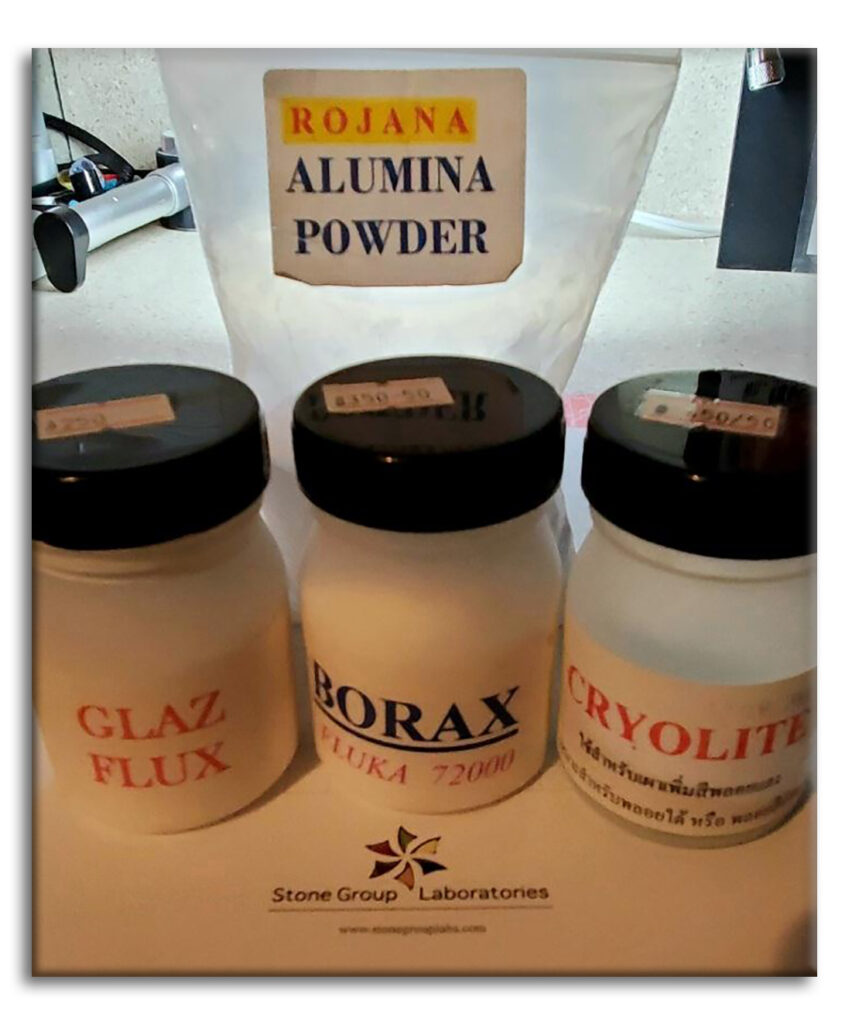
Figure 1 shows the items used to facilitate the normal/standard heat treatment process, i.e., borax, flux, and alumina powder. These facilitative flux additives end up inside the fingerprints and fissures of a heat treated gem. Hence, “flux residue.”
Cryolite
In question is the one ingredient called “cryolite”. The author obtained these in a supply house in the cutting (and treatments) center of Chanthaburi, Thailand.
This green “cryolite” powder was assumed to be some type of crushed mineral, but later tests with XRF, showed only one main element: That of chromium.
The Importance of Chromium
Chromium is the main ingredient to give rubies their red color. It is important that we know: 1) This treatment has been around for a while (Themelis 2004), 2) That it isn’t commonly performed even on heated rubies reported with normal flux residues.
Lately, however, SGL labs has seen an increasing amount of this treatment used on rubies of lesser quality, which have more fissures and inclusions.
While this treatment is not one requiring Special Care, it is one that alters the perceived value of the gemstone. As such, it should be considered mandatory disclosure as to the nature of the enhancement, in this case “color enhancement.” When the cryolite (Cr oxide) is added with alumina powders and fluxes, it is heated, and then re-crystalizes into synthetic corundum and other product having a rich red color in the residues.
Detection
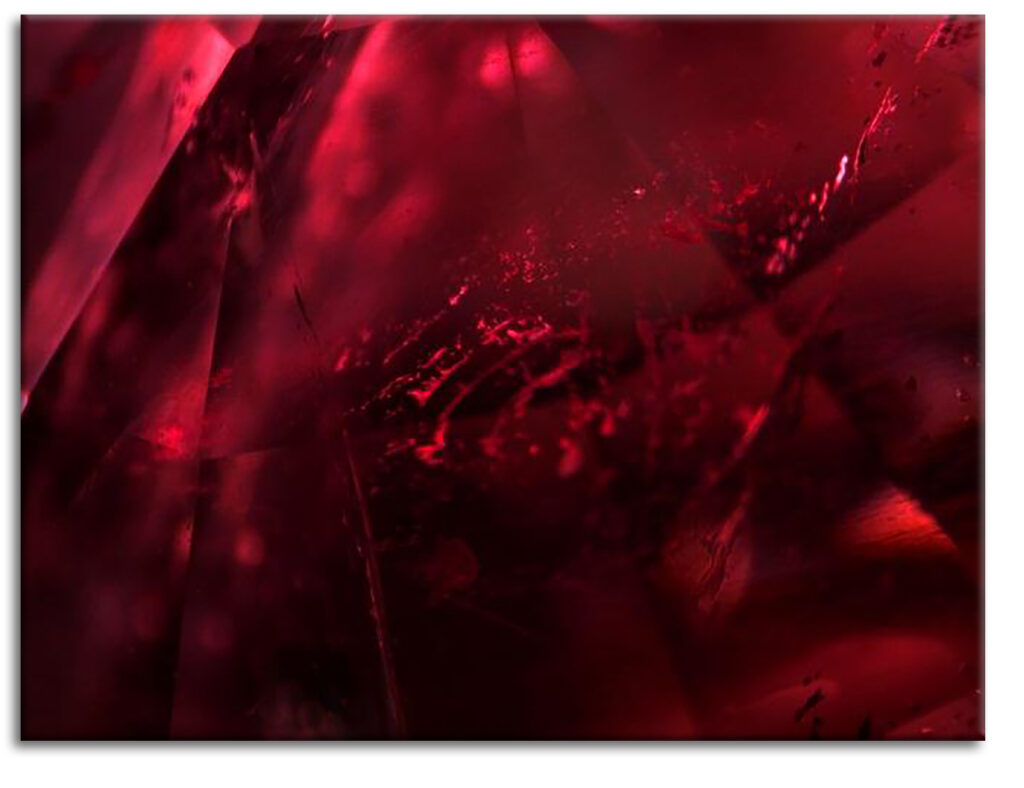
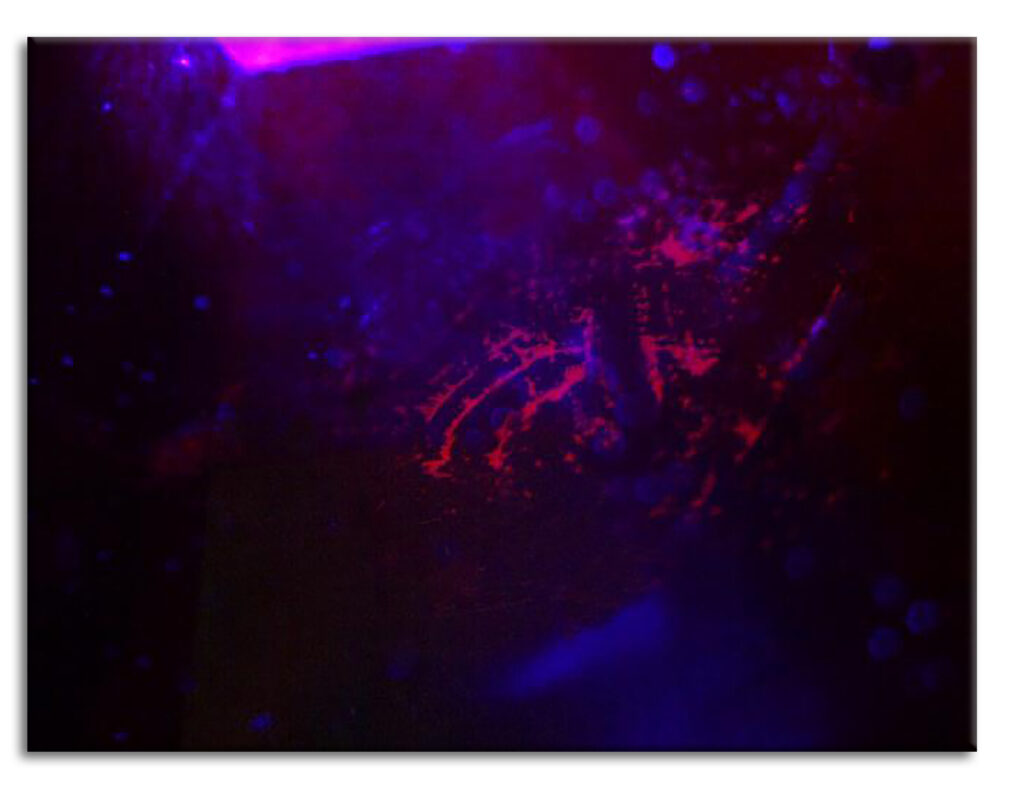
While advanced equipment is sometimes utilized, the microscope is really your first line of defense. A Long-wave UV LED flashlight would also be needed for proper detection. Under darkfield illumination, (Fig. 2) the microscope shows an area of flux residues that is infected with the additive. Upon exciting the area with your longwave UV LED, (Fig. 3) a distinct red fluorescent reaction takes place that indicates the presence of the treatment concentrated within the cavity or fingerprint. Note: Careful observation, such as turning the gem to ascertain if the fingerprints and fissures are not reflecting within the stone, making it appear to have added red coloration.
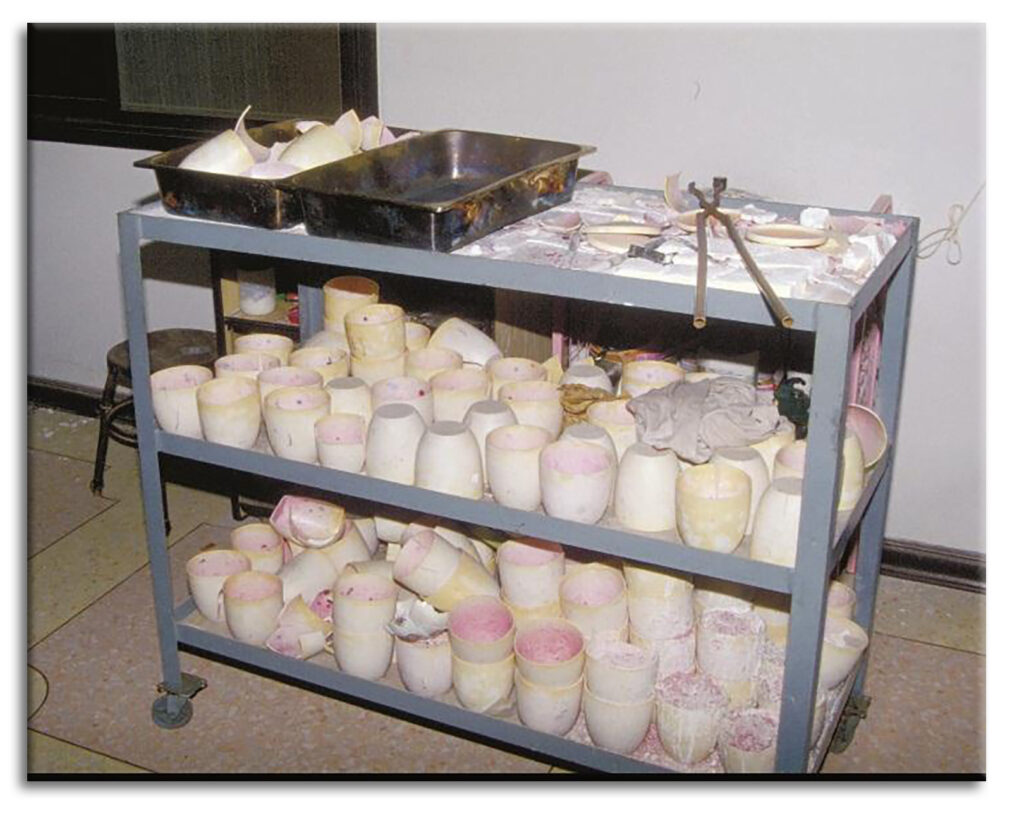
The heating process will basically liquify the flux and alumina mix which will then easily enter the fissures of the ruby. Product is placed into crucibles (Fig. 4), and the residual staining can be seen on the walls of these crucibles.
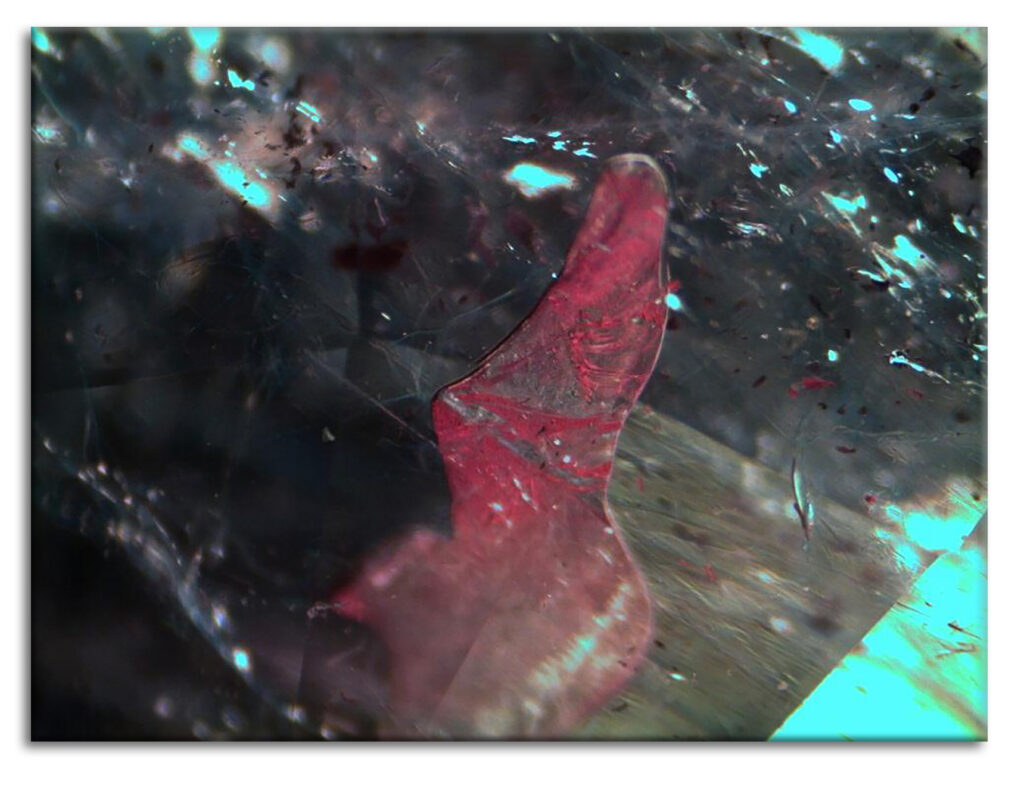
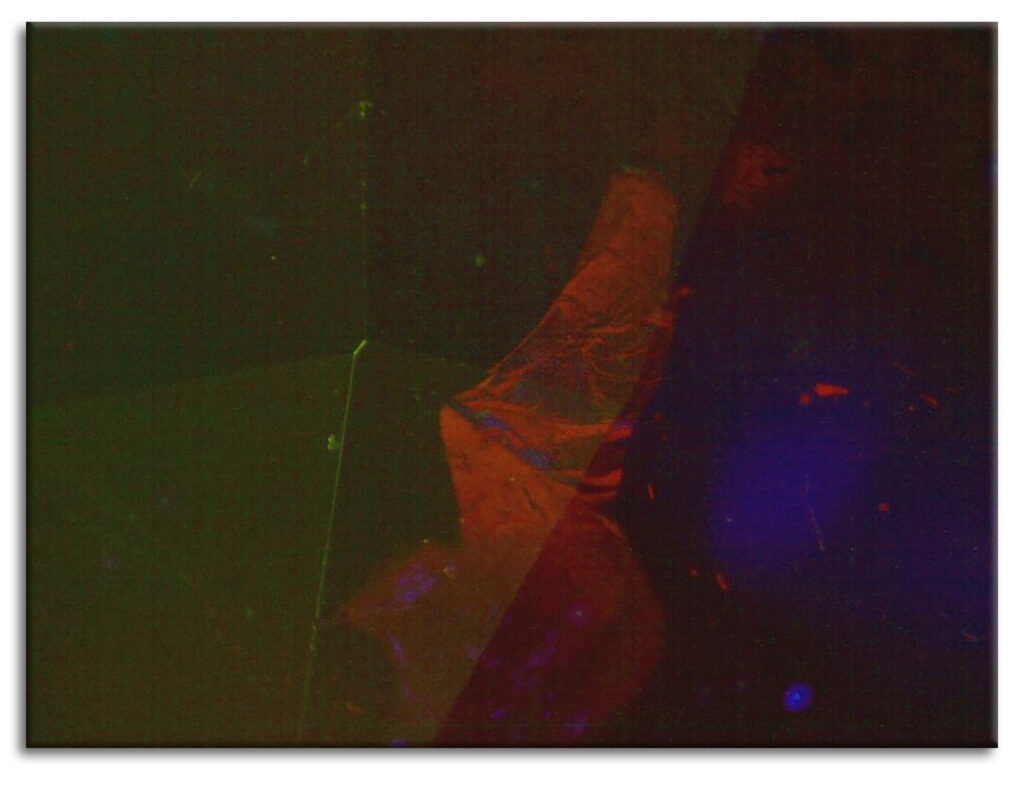
These final two images seen under natural light and LW UV light, bring out some of the gory details of an internal fissure impacted by the flux infilling residues with added chromium that have enhanced the red color.
Stay Alert
Keep a close watch on those rubies coming in to your office. Spend a little extra time with careful observation to check what you are seeing is not a play of light or reflection.
Special thanks to Bear Williams and the Stone Group Labs for this report


